 |
|
|
|
The Definitive Betamax Web Resource
|
||
|
|
|
|
The Definitive Betamax Web Resource
|
||
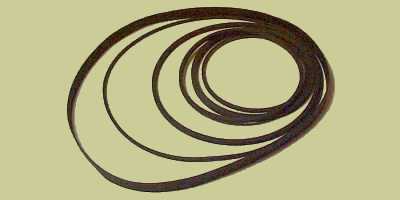
When the belts fail, the whole lot should really be replaced. Sometimes though this is not always possible, either because the part is no longer available or because the unit needs to be fixed quickly. Cleaning the belts in a system is always a good idea.
Secondly remove the bottom panel of the unit. On some machines you will now be able to see and remove the drive belts. However on other machines it will be necessary to first hinge up some circuit boards. Most boards are designed to hinge to allow service access to the underside of the deck. Look in particular for any service access screws normally coloured pink and often have an arrow pointing at the them on the board.
Do not be afraid to remove any connecting leads that may be required to hinge the board back but make a note so that they can be returned easily.
Note, some belts are extremely difficult to remove. In this case the belts are best cleaned in situ.
 |
 |
Now take the belt to a sink a clean it using normal washing up liquid. This is quite important as it gives the belt back some of its stickiness.
Before replacing the belt, clean the surfaces that the belt was in contact with such as the pulley or roller using a cotton wool bud.
If the belt could not be removed from the unit, a cotton wool bud could be used to clean it in situ.
See also the pinch roller and head cleaning guide.